
So, what do you do with a day at home, a new coffee apperatus and a desire to be creative? In my case, I chose to make a video. Now this wasn’t a how-to, just a fun video to show the process of the Pebo vacuum coffee maker by Bodum.
Vacuum Coffee Maker
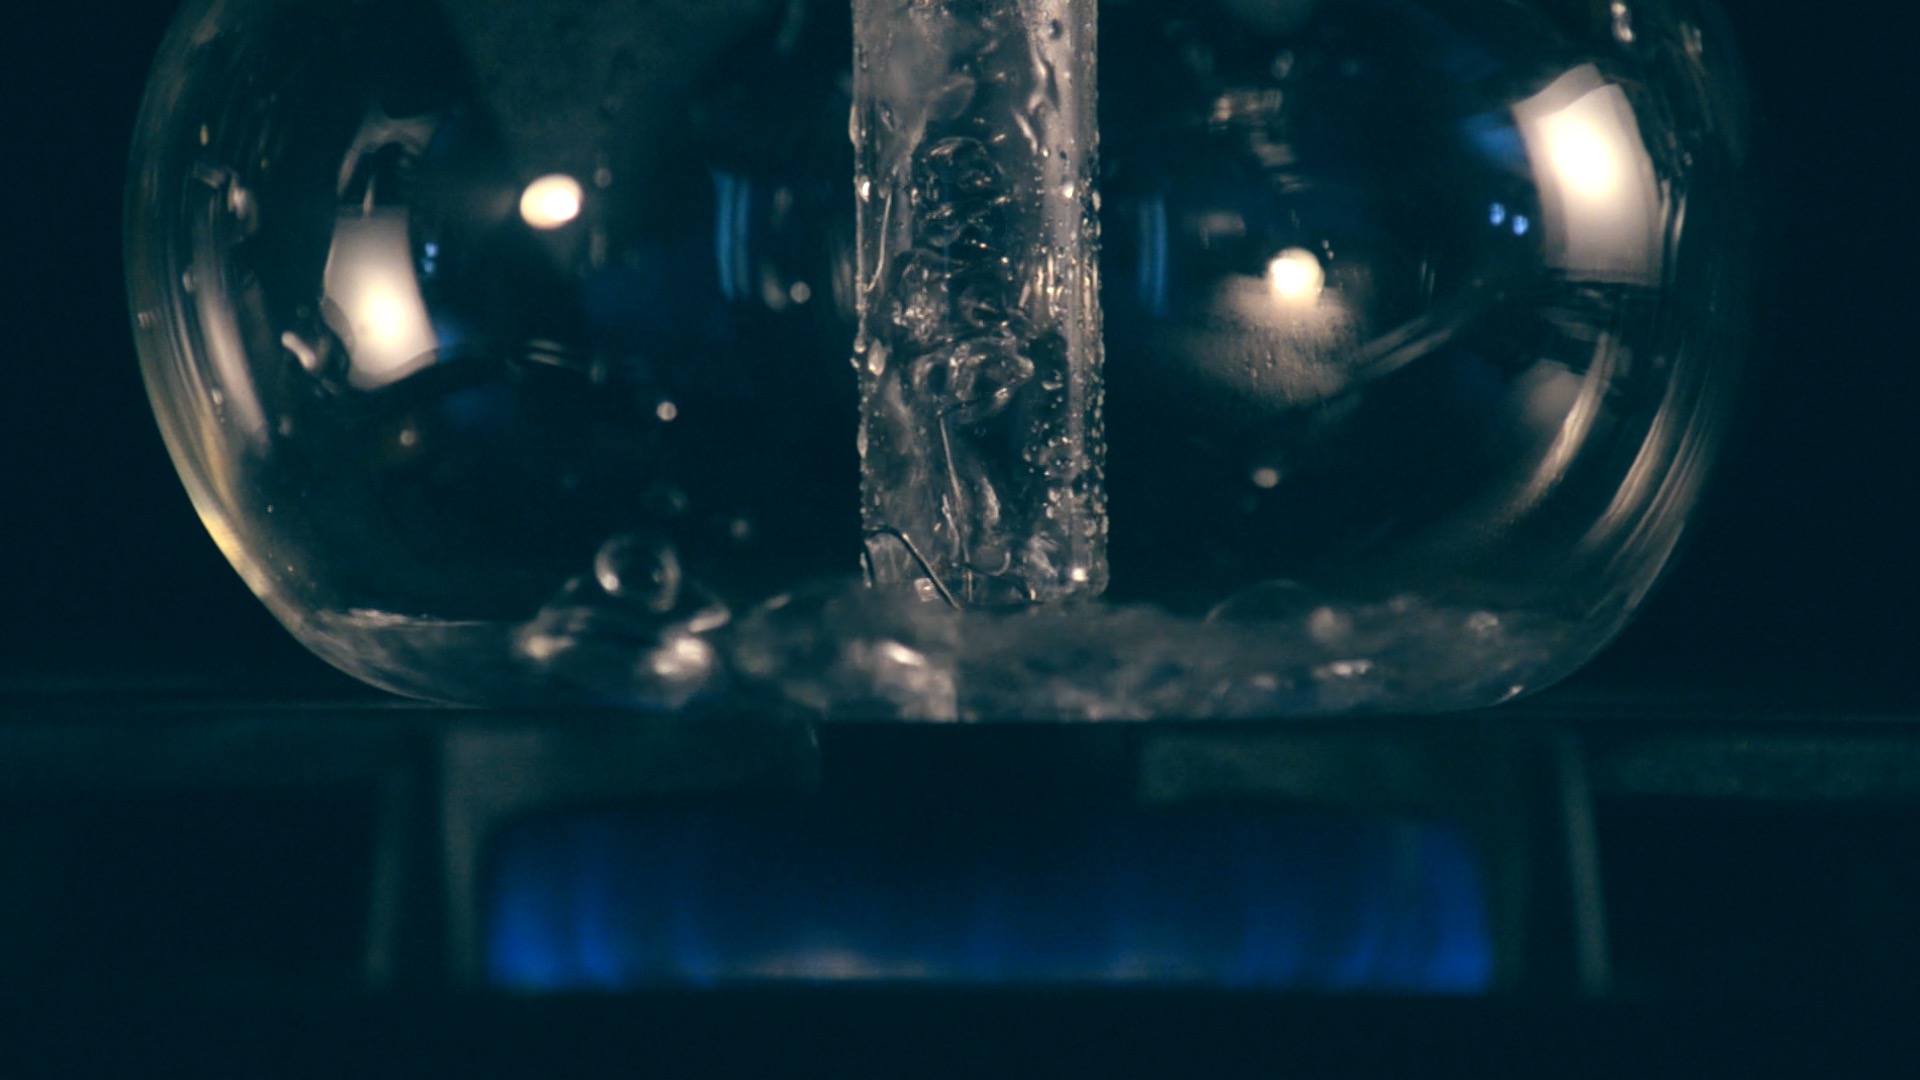
You first start by filling the lower stage with the desired amount of water. Place the lower chamber on the stove. Insert the filter into the upper stage and pull on the chain until the hook comes out and securely clips onto the edge of the spigot, this is tensioned by a spring, so make sure not to leave this connected when not in use. Place the upper stage on the lower stage, pressing down to ensure a seal with the rubber gasket. Place 1 tsp. coarse ground coffee for every 8 oz. cup of water in the upper stage. Turn stove burner on and wait. The water in the lower stage will travel up the spigot to the upper stage and mix the grounds in the upper stage. Once all but a rapid boiling 1-2 cm of water remains, remove from heat. The lower chamber will now create a vacuum and suck the coffee down from the upper stage. Once all the liquid has returned to the bottom stage, remove second stage, pour, drink and enjoy!
I started off by cleaning up the stove area and setting up some lights. I used a large monitor connected to my camera to see the affect that various lights had. I pulled out some smaller lamps and some diffusing material, flagged off some of the more obnoxious reflections and then set the cameras up. My D7100 did the wide shots with a 50mm prime lens and a D7000 pulled off the close up of the burner with the 55-300mm (at about 180mm). The rest was all just about waiting for the process and interacting with the procedure.
To pull off the sliding movements, I just used a yard stick taped to the counter (an island just across from the stover). I placed a couple paper towels down and then used a sturdy box to act as the base to the camera. The box was able to slide with just enough resistance to appear smooth.
Once I had all the footage, I imported it all into Final Cut Pro X. I did a preliminary cut of all the footage and then started to work it down. I applied speed ramps to all the long bits to give it the time-lapsed look, and to trim down the runtime. Once it was all rough cut, I noted my total run time and went looking for backing music. Music usually is one of the more tedious steps. If this were a paid gig, I’d just buy some quality music, but since this is just for fun, I turned my sights to Creative Commons licensed music. Over at the Free Music Archive, I found a song that fit the bill.
Now with the music in place, I could tweak the edits to flow better with the music and fit the runtime. With the basic edit done, I turned my attention to the smaller details, making sure each shot flowed into each other and applying some camera stabilization to the shaky footage (the dog ran around while I filmed this and even just a quick walk by the counter added shake!). With footage a stable as I found practical, I focused on giving the footage a color treatment to better show the scene. I chose a cool washed image with warm highlights and low contrast. And with all that I now present the final product!